Resizing User-Provided Images in the Browser

Many web sites allow users to upload images for later display, for example a company logo or a profile photo. To enable this functionality while also making it easy to use and protecting other users there are some issues that need to be solved:
- What if a very large image is uploaded? It could affect performance negatively and impact storage and data transfer costs.
- What if the pixel dimensions or aspect ratio of the image are inappropriate for where the image is to be shows? CSS can usually help, however some situations like email need a different approach.
- How can formats like GIF be supported whilst disallowing animations?
There are many ways these issues can be addressed - including installing yet another npm package - but one powerful yet simple approach is to take advantage of the File API and Canvas API to pre-process images in the browser before the file is sent to the server. In React the best practice is to make hooks to simplify application logic and encourage reuse.
Let's dive into some code to see how I solved this problem!
0. The Beginning
I'll start with a very minimal form component with a file input:
const Form = () => {
  return (
    <form method="post">
      <input type="file" name="file" accept="image/*" />
    </form>
  )
}
My goal is to take the user selected image, resize it so that the longest edge of the image is at most 100px, and upload this resized version to an API. To do this I have to:
- Get the
Fileout of the<input> - Convert the
Fileto anImage - Resize the image:
- Create a new canvas at the target size
- Draw the
Imageon the canvas - Convert the canvas pixel data back to a
File
1. Getting a File from an <input>
I will start by making a hook to extract a File from an <input> :
const useFileState = () => {
  const [files, setFiles] = useState<File[]>()

  const fileInputOnChange = useCallback(
    (e: React.ChangeEvent<HTMLInputElement>) => {
      setFiles(Array.from(e.currentTarget?.files ?? []))
    },
    [setFiles]
  )

  return {
    files,
    fileInputOnChange,
  }
}
Integrating it with the original form results in:
const Form = () => {
  const { files, fileInputOnChange } = useFileState()

  return (
    <form method="post">
      <input
        type="file"
        name="file"
        accept="image/*"
        onChange={fileInputOnChange}
      />
    </form>
  )
}
The useFileState hook gives me a convenient and reusable way to extract Files from the input. It returns a function fileInputOnChange to pull the files when the input's onChange event fires, and files, an array that contains the files the user selected for upload.
2. Turn a File into an Image
Now that I have a File, I can start manipulating it. This is a two step process: convert the file into a data url, and then set an in-memory image's src attribute to the data url to load it. Converting a file into a data url is an operation that could be useful and reusable so I will make a hook for it:
const useFileDataUrl = (file?: File) => {
  const [url, setUrl] = useState<string>()

  useEffect(() => {
    if (!file) return
    let aborted = false
    const reader = new FileReader()
    reader.onload = () => !aborted && setUrl(reader.result as string)
    reader.readAsDataURL(file)
    return () => {
      aborted = true
    }
  }, [file])

  return {
    url,
  }
}
This hook accepts a File and returns a string data url. Note that the FileReader is "async" because the onload event fires after the readAsDataURL function is called. As such, the url will initially be undefined. There is an additional need to guard against out of order bugs with an aborted flag.
Loading a data url in an image is as simple as newing one up and setting the src:
const image = new Image()
image.onload = () => {/* do something with the image here */}
image.src = url
I will use this as the foundation for a hook to resize the image.
3. Resize the Image
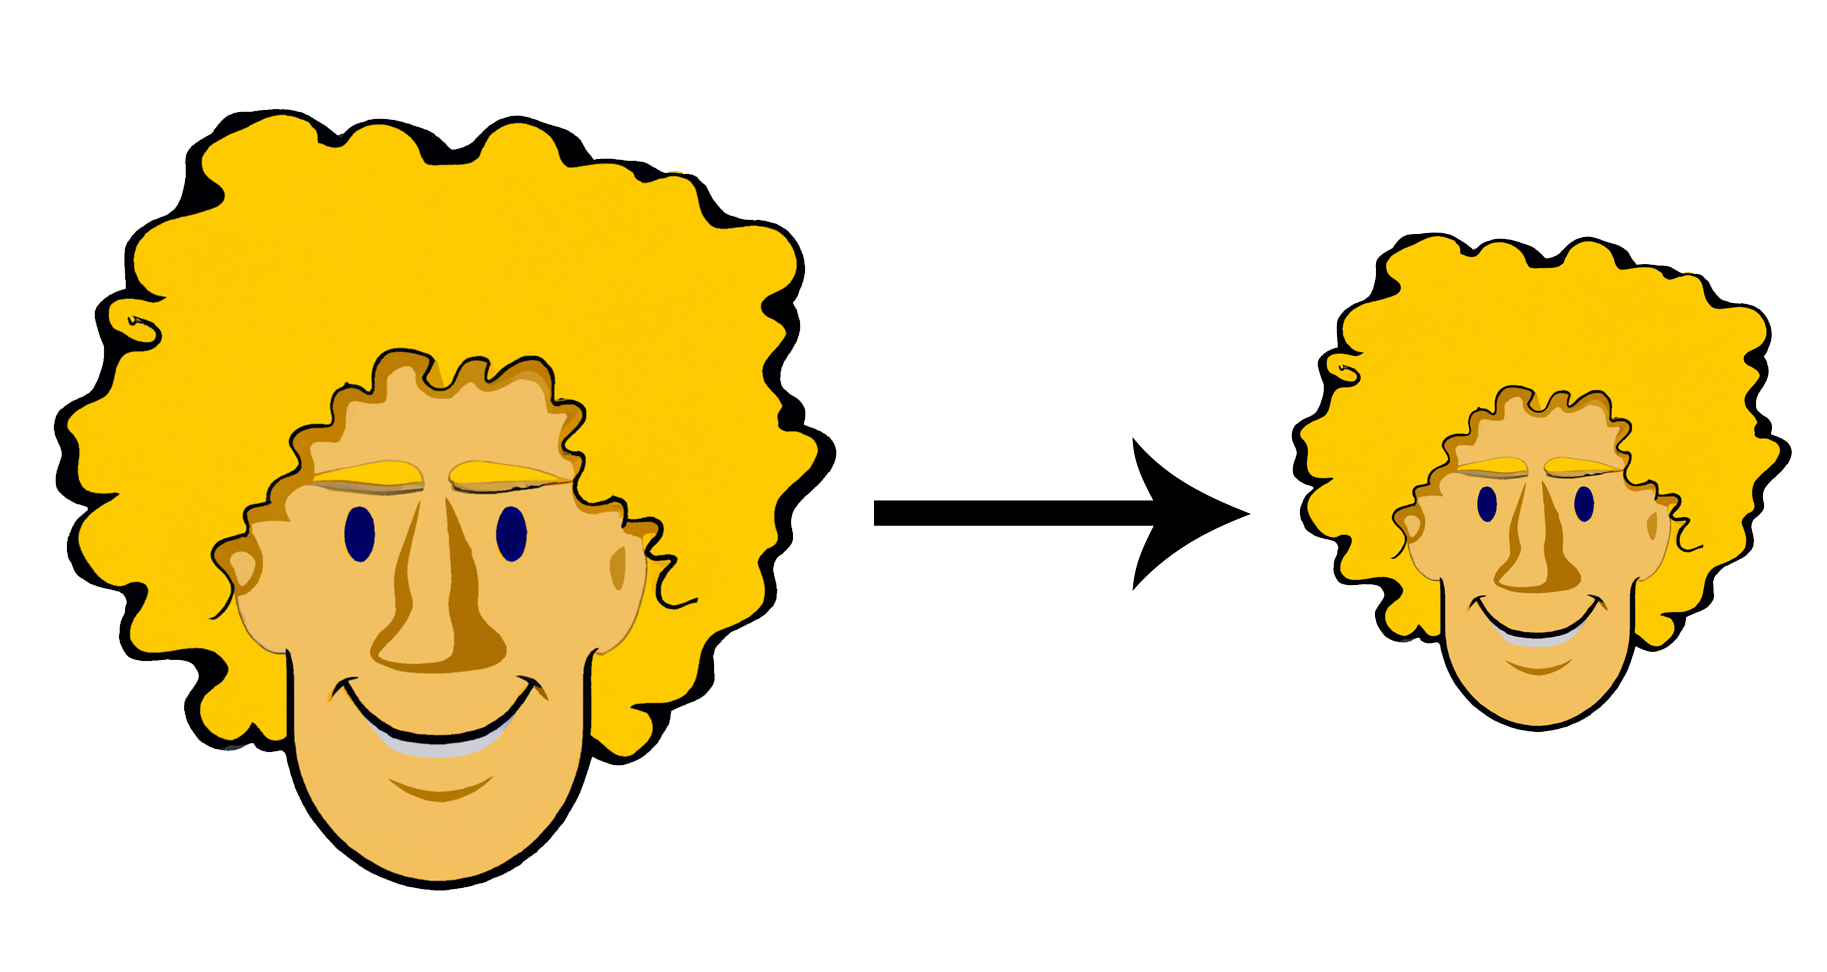
The code to do this is a little longer, so I have added comments to explain it. Essentially, it accepts a File and maxEdgePx which is the largest width or height of the final image. For example, if maxEdgePx is 100 and the original image is 500×1000px, then the resized image's longest edge (the height in this case) must be 100px. To maintain the aspect ratio and not distort the image, the resized image should be 50×100px.
const useResizeMaxEdge = ({
  file,
  maxEdgePx,
}: {
  file?: File
  maxEdgePx: number
}) => {
  // Convert the file to a data url
  const { url } = useFileDataUrl(file)
  // The final resized image
  const [resizedImageFile, setResizedImageFile] = useState<File>()

  useEffect(() => {
    if (!url) return
    // A flag to prevent out-or-order errors
    let aborted = false

    // Create the image and put the code to perform the resize in onload
    const image = new Image()
    image.onload = async () => {
      if (aborted) return

      // Calculate the size of the resized image
      const { width, height } =
        image.width > image.height
          ? {
              width: maxEdgePx,
              height: (maxEdgePx / image.width) * image.height,
            }
          : {
              width: (maxEdgePx / image.height) * image.width,
              height: maxEdgePx,
            }

      // Create the in-memory canvas and set its dimensions
      const canvas = document.createElement('canvas')
      canvas.width = width
      canvas.height = height

      // Get a 2d context and set the image smoothing quality. This is
      // used to perform drawing operations on the canvas.
      const context = canvas.getContext('2d')
      if (context == null)
        throw new Error("Can't obtain canvas context")
      context.imageSmoothingQuality = 'high'

      // Draw the original image on our canvas. The dimensions have
      // the same aspect ratio, so draw the entire original image to
      // the entire canvas.
      context.drawImage(
        image, // source image
        0, // source x, y, width, height
        0,
        image.width,
        image.height,
        0, // destination x, y, width height
        0,
        width,
        height
      )

      // Convert the canvas back to a File and store it in the state.
      // webp was chosen as it generally results in smaller file sizes
      // than png and jpg, and supports transparency.
      const dataUrl = canvas.toDataURL('image/webp')
      const resizedFile = await dataUrlToFile(
        dataUrl,
        'resized.webp',
        'image/webp'
      )
      if (aborted) return
      setResizedImageFile(resizedFile)
    }

    // Set the image src to the data url. This triggers the onload
    // function as soon as the url is loaded
    image.src = url

    // If one of the props changes before the resize completes then
    // abort in case this run completes after a subsequent one and
    // overwrites the result.
    return () => {
      aborted = true
    }
  }, [maxEdgePx, url])

  // The hook returns the resized image file
  return {
    resizedImageFile,
  }
}
The dataUrlToFile function converts a data url to a File:
const dataUrlToFile = async (dataUrl: string, filename: string, mimeType: string) => {
  const response = await fetch(dataUrl)
  const buf = await response.arrayBuffer()
  return new File([buf], filename, { type: mimeType })
}
And I'm done! The output of this hook is a File that contains a resized version of the image File from the props.
Putting it all together
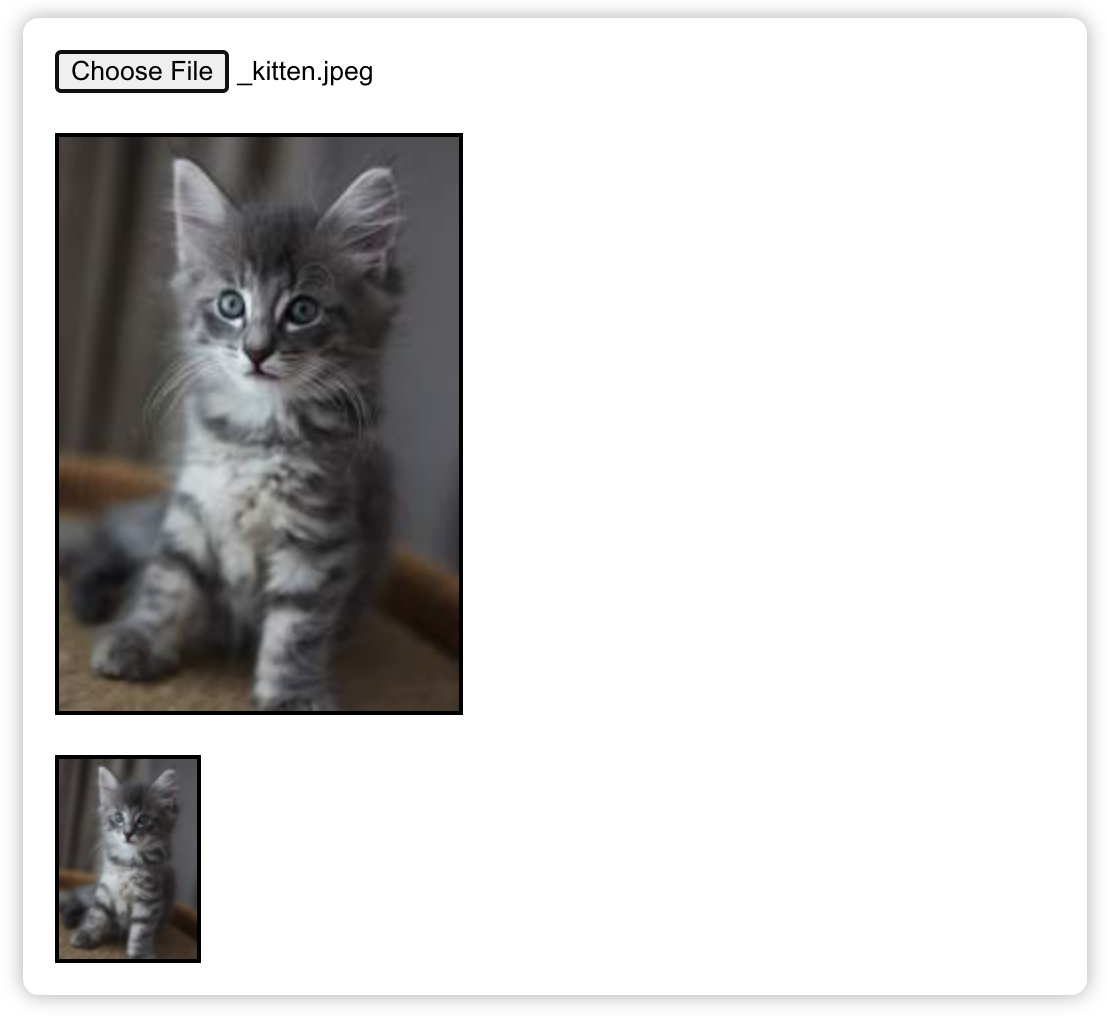
Finally it is time to use the resize hook in the original form component, and just to prove that it works I'll add a preview of both the original file and the resized file. Here's a component to take a File and turn it into an <img>:
const PreviewImage = ({ file }: { file?: File }) => {
  const { url } = useFileDataUrl(file)

  return <>{url && <img src={url} alt="preview" />}</>
}
And the final version of the Form component:
const Form = () => {
  const { files, fileInputOnChange } = useFileState()
  const { resizedImageFile } = useResizeMaxEdge({
    file: files?.[0],
    maxEdgePx: 100,
  })

  return (
    <form method="post">
      <input
        type="file"
        name="file"
        accept="image/*"
        onChange={fileInputOnChange}
      />
      <PreviewImage file={files?.[0]} />
      <PreviewImage file={resizedImageFile} />
    </form>
  )
}
Final Thoughts
One thing to keep in mind with this approach is that it's all client side, so you should still implement validation checks on the server to ensure that the image received really is an image and it passes any other criteria that are important.
I've just scratched the surface of the possibilities here. You could quite easily recreate any of the options that CSS's background-size gives you, position or crop the image differently depending on the aspect ratio, apply effects or clip it to a shape, or anything else that you can think of. I hope this inspires some ideas to help you work with user-uploaded images!